Hi guys! I'm a little late on my "Bloomin' Blogger Sundays" post because we've been in Vegas for two days. The Eagles concert was a-w-e-s-o-m-e!!!! We had such a great time! I keep thinking I'm back to work tomorrow, but wait.....I'm on spring break all next week! Yay!
I got a little head start on my spring cleaning last week in my classroom. I don't know what it is about spring, but when it arrives, I really do seem to get that spring cleaning fever!!! Last week I decided to finally tackle cleaning out my file cabinets and organizing my materials by monthly themes. I have four file cabinets in my room and over half of these cabinets contained
Every night I ended up with a trash pile that looked like this:
And now......I have monthly themed bins that look like this:
Since I don't have a whole lot of stuff yet in just my 5 years of teaching, I organized mine using one bin for every 3 months and skipped June, July, and August. We get out of school the first week of June and start the last couple days of August, so I don't have a need for organizing a bin for those months. And they fit in the bottom of my cabinet perfectly.
I forgot to take a photo of the inside....but inside I have folders for reading, writing, and math that are color-coded for that month. So in other words, each bin has three colors of folders in it. I love these bins because they fit and hang file folders perfectly (they're old Saxon math containers), so I put hanging folders inside where I placed the centers, books, stickers, etc. themed for each month.
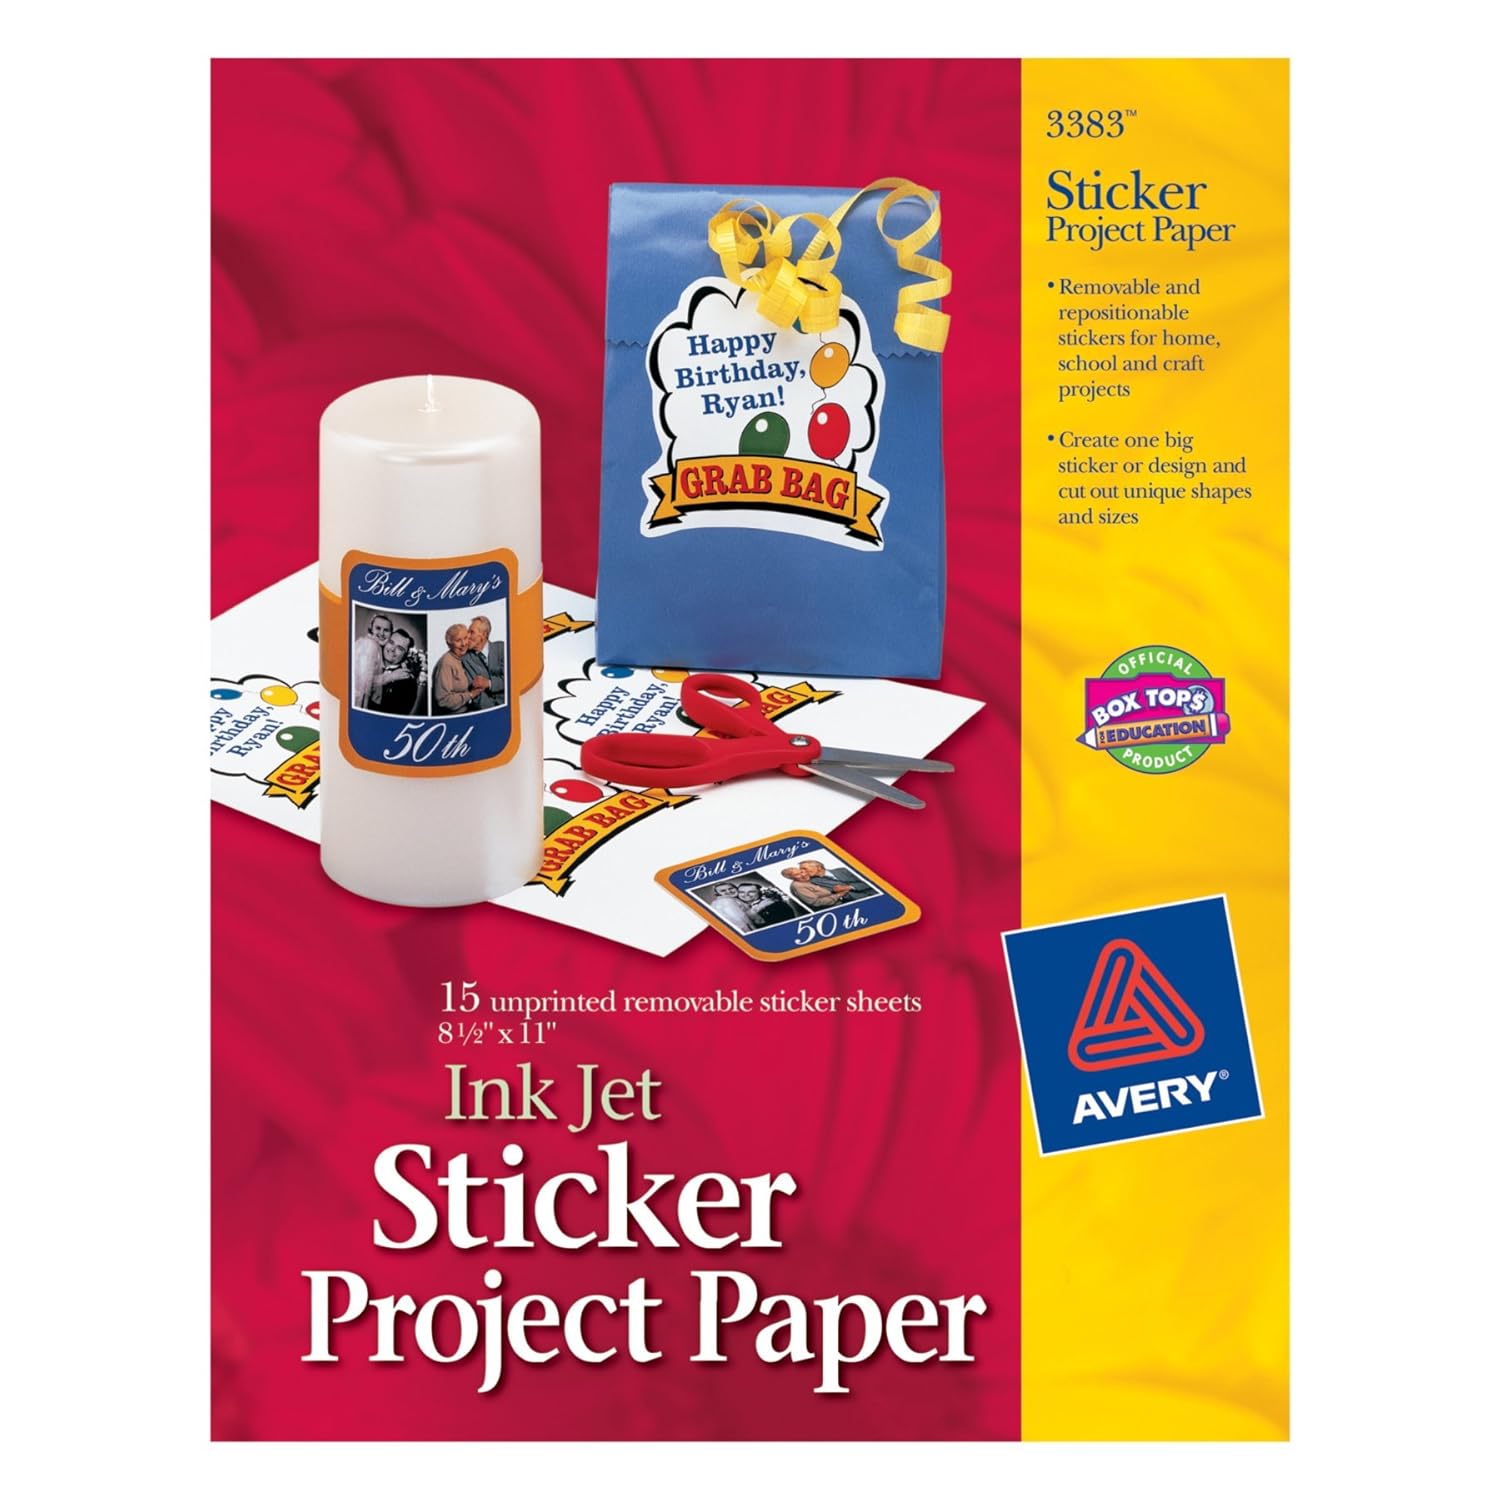
I used sticker paper that I bought at Office Max to print my labels.
You can get the labels for free at my "Teacher's Notebook" shop.
Now I have one less file cabinet and three CLEAN file cabinets with space to fill with better and newer creations.
And now for those of you in school next week and looking for an easy and fun Easter craft.....this is it! My class made these Friday and they turned out fabulous!
Tie-dyed Easter Eggs
2) Let the students choose 2-3 colors of food coloring & have them squeeze 5-6 drops of each color.
3) Using a spray bottle of water, spray it. The colors will blend and give you the tie-dye look.
4) Hold up and let the excess water run off and lay on wax paper to dry.
5) The picture doesn't show this, but I also punched a hole in the top of each one and looped a ribbon through it for hanging.
You can also have your students draw designs or write on the egg first using a white crayon, which is what my student did on the egg on the right.
You can check out my EASTER Pinterest board, to see where I originally got this idea and for more Easter ideas!!
Okay, now for the reason I began this post in the first place.......oh, yea....."Bloomin' Blogger Sunday."
Put the "Back to Top" arrow on your blog.
You can try mine out now to see if you'd like to have it on your blog. Just click on the pink up arrow in the bottom right corner. I find it very useful on blogs I visit because rather than having to scroll all the way back up to the top of their blog to find something, I can simply click the arrow and I'm there!
Since this is already such a long post, I'm going to cheat a little and send you directly to where I learned how to do this on my blog. Plus, no need to always reinvent the wheel, right??
Click on the button and you will go directly to this tutorial. You will need to scroll down about 3/4's down to the Aug. 20th post. On your scroll down, you're most likely to find some other great tutorials of interest.
As always, if you need any assistance or have suggestions for future tutorials or tips, please let me know! Happy Sunday!


No comments:
I LOVE reading your comments, and replying! But the only way you'll get my reply is if you are a blogger and have that set up on your Blogger account, or if you come back to your comment to see if I've replied,(which is unlikely to happen). So please leave your email when you comment so that I can be sure you get my response!